%20(1).avif)
In this guide, we’ll walk you through how you can add multi-factor authentication (MFA) in your Duende IdentityServer using Authsignal — making your authentication system much more stronger and keeping your users’ data safer.
Why MFA Matters
Adding a second verification step makes your system much more secure. While Duende IdentityServer gives you solid authentication for ASP.NET Core apps, passwords alone aren't enough protection these days. MFA helps defend against hackers who steal passwords or trick your users into revealing their login information.
Let’s explore how we can implement this.
Implementation Approach
One key advantage of this implementation is the ability to progressively transition users from traditional password-based authentication to more robust MFA methods. This ensures minimal disruption to your user experience while enhancing security.
In the following sections, we'll explore:
- Setting up Authsignal with your existing Duende IdentityServer
- Configuring the authentication flow
Let's get to building.
Repository Structure
For your convenience, we've published the complete source code with all implementation details on our GitHub repository.
The repo consists of two projects:
- IdentityServer — The authentication server that handles login requests and MFA challenges
- Runs on
https://localhost:5001 - Contains the Duende IdentityServer core and Authsignal integration
- Runs on
- WebClient — A sample client application protected by our enhanced authentication
- Runs on
https://localhost:5002 - Demonstrates how end users will experience the MFA flow
- Runs on
The code samples in this guide are extracted directly from this implementation.
Setting Things Up
Before we get into the code, you'll need to do a bit of prep work in the Authsignal Portal.
1. Enable the authenticator you want to use (We’ll use Authenticator App for this example)
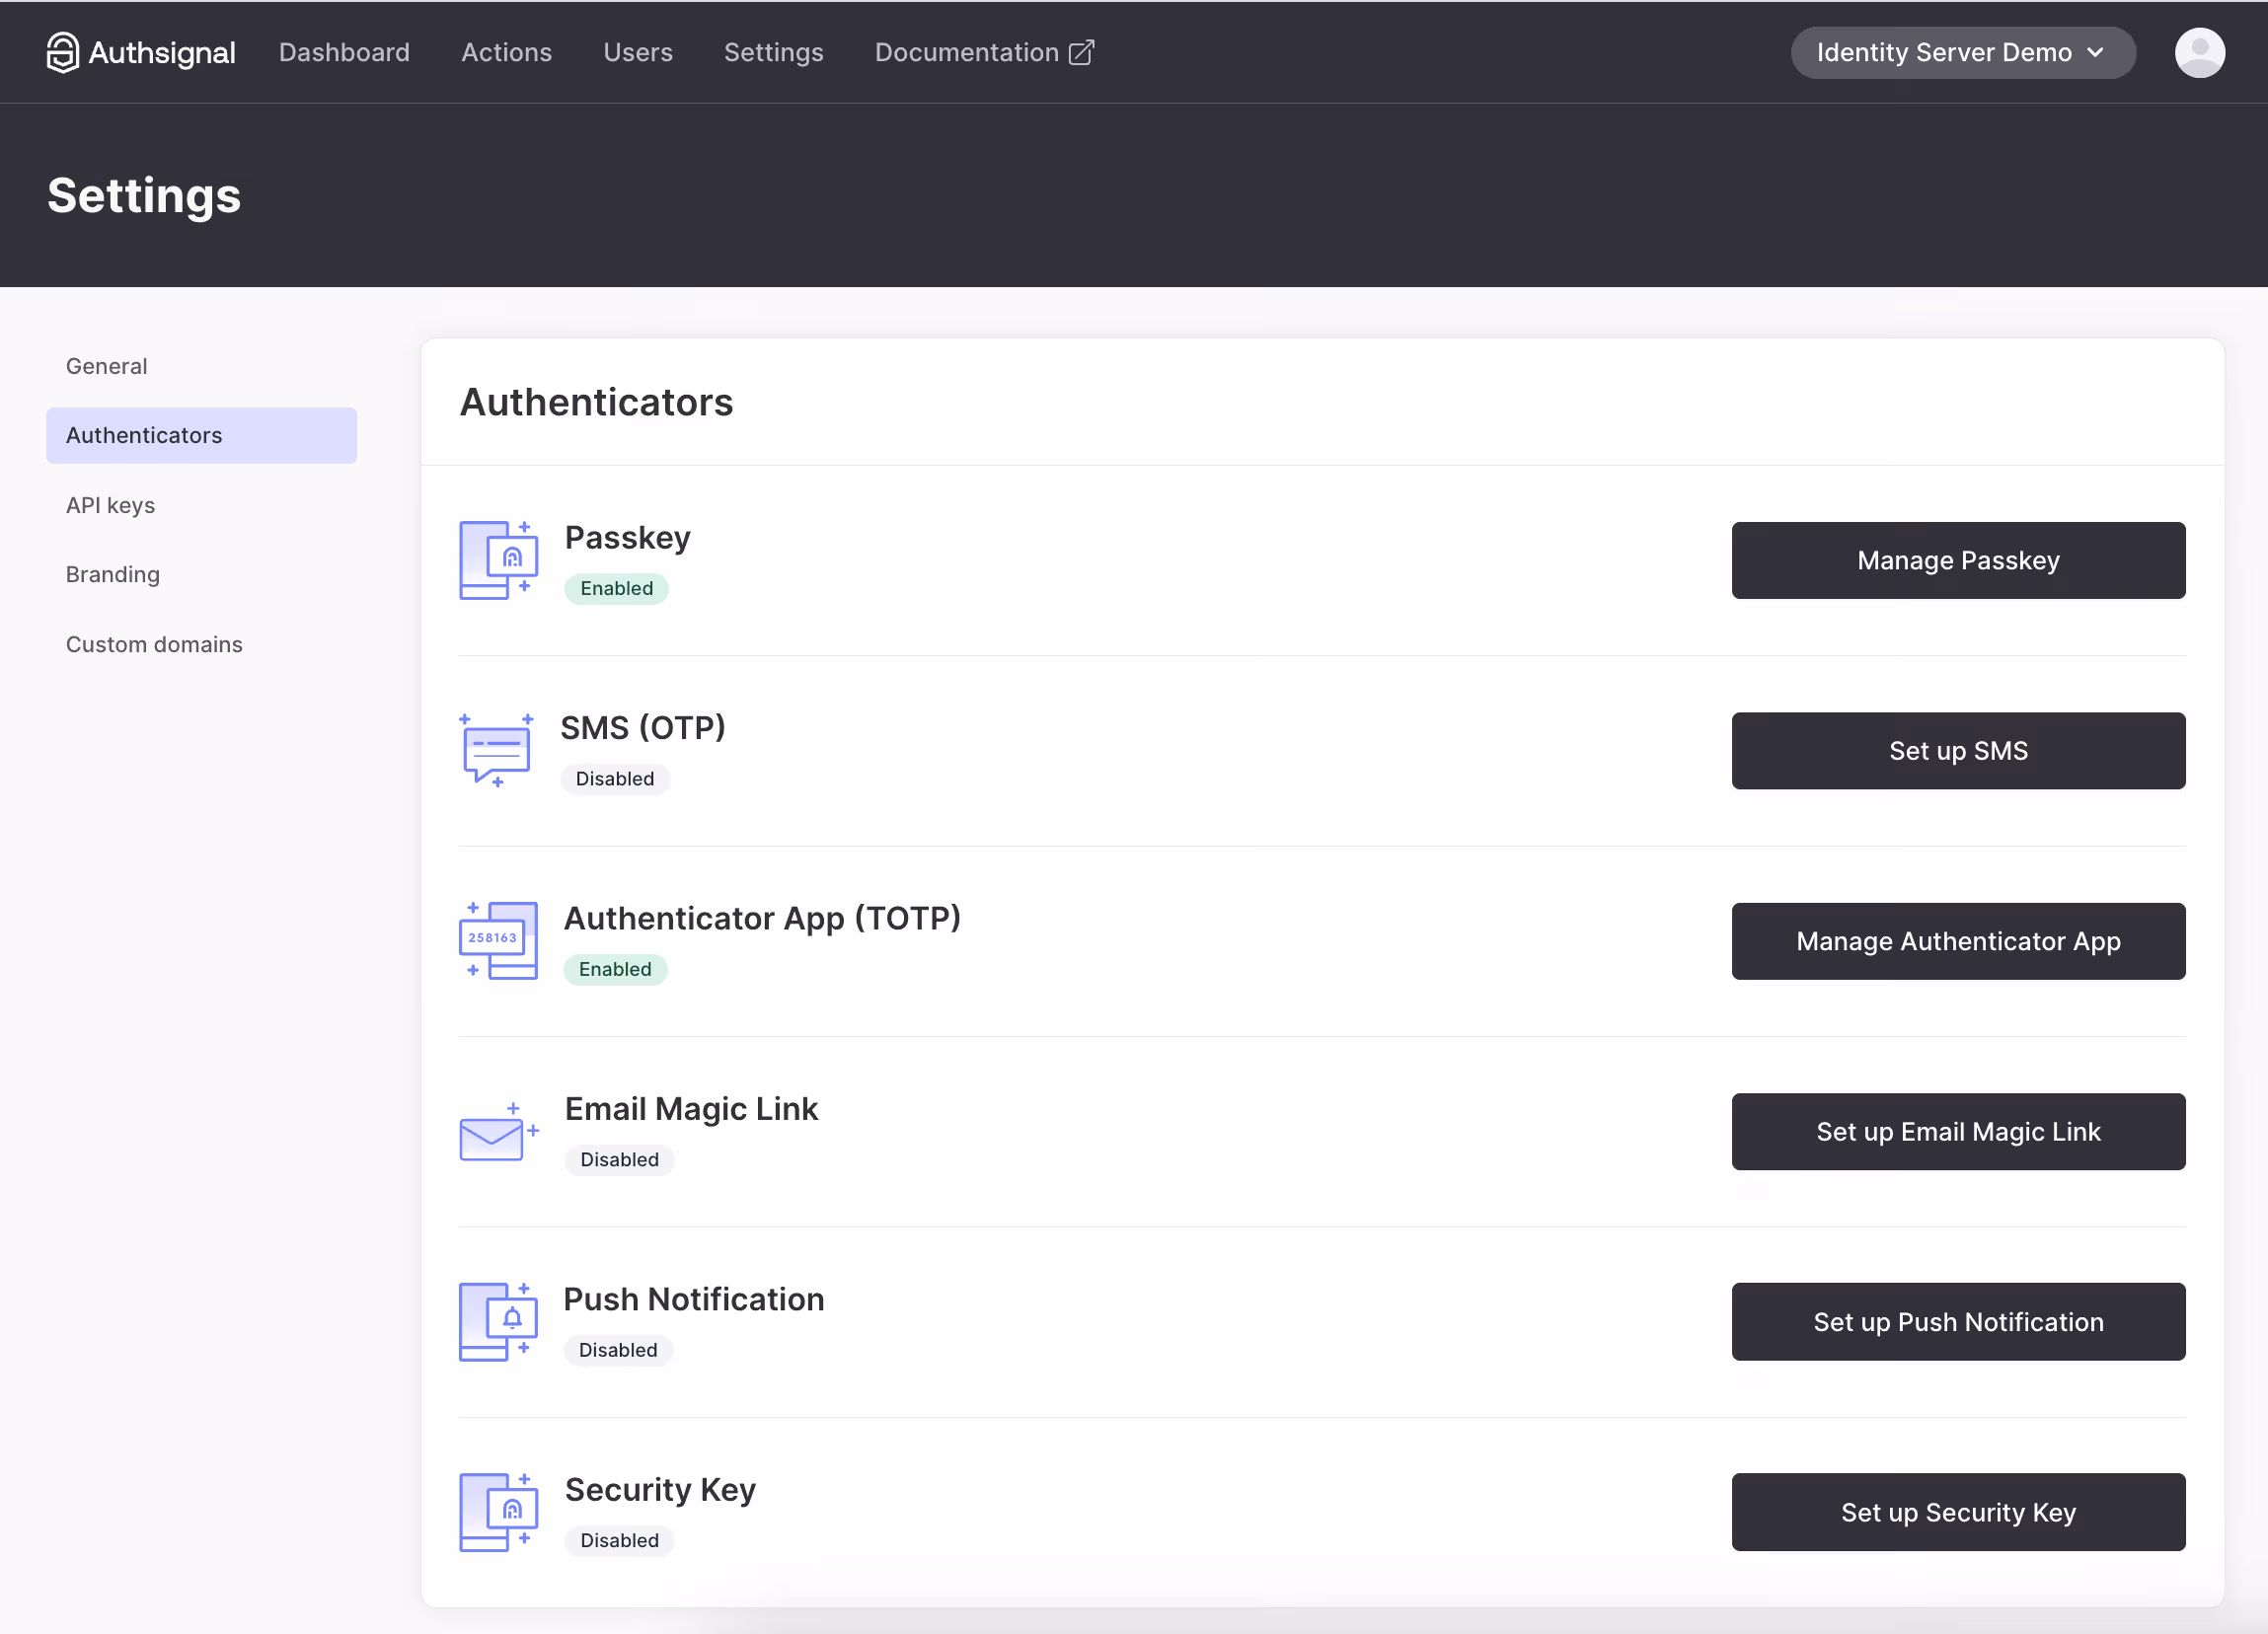
2. Grab your API keys and region URL
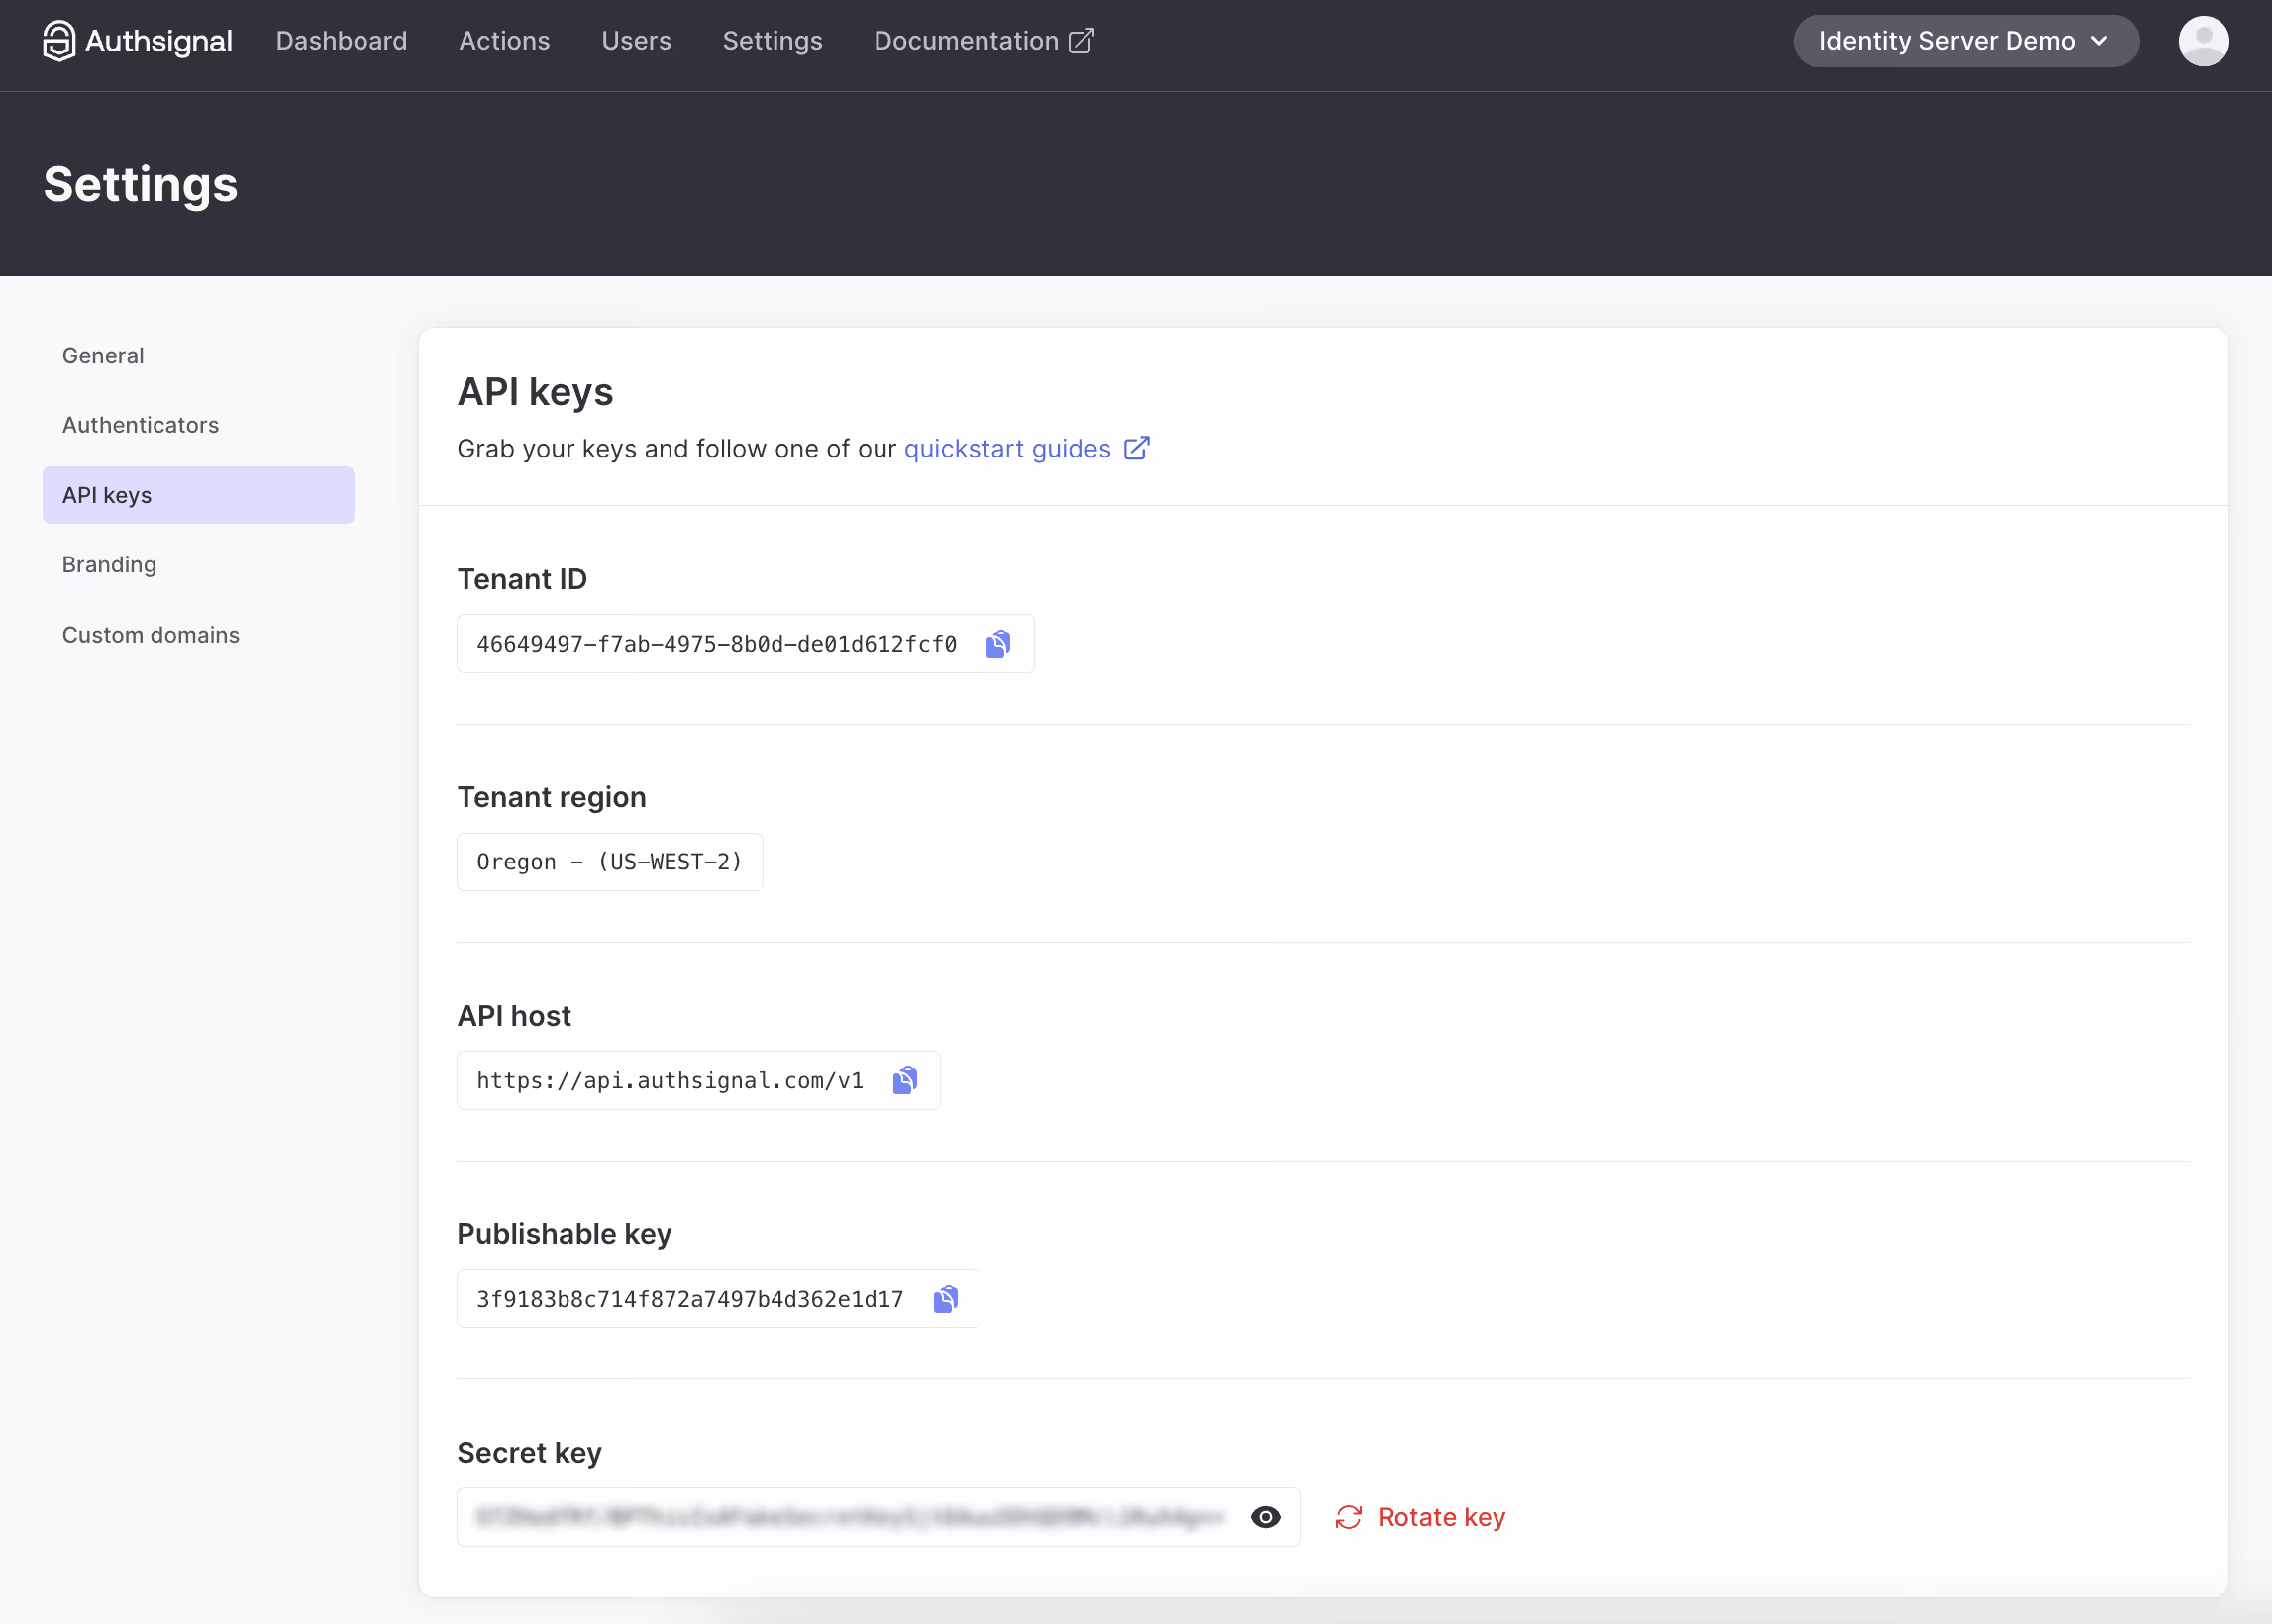
3. Add API key secret to the appsettings.json file of both WebClient and IdentityServer. Tenant ID and URL are required in the client-side JS snippet.
Adding MFA to Your Login Flow
The quickest way to implement MFA is using Authsignal's pre-built UI. But don't worry, you can customize it to match your branding.
Here's how the flow is:
- User enters username and password
- You validate those credentials
- If valid, you redirect to Authsignal's MFA challenge
.avif)
- After completing the challenge, the user gets redirected back to your app
Integrating the MFA Challenge
To implement this flow, we need to modify the login process in IdentityServer. The key integration point is right after validating the user's credentials and before issuing the authentication cookie.
Let's look at how we implement this in the login page's POST handler:
// /src/IdentityServer/Pages/Account/Login/Index.cshtml.cs

public async Task<IActionResult> OnPost()
{
  if (_users.ValidateCredentials(Input.Username, Input.Password))
  {
    var user = _users.FindByUsername(Input.Username);

    var trackRequest = new TrackRequest(
      UserId: user.SubjectId,
      Action: "identity-server-login",
      Attributes: new TrackAttributes(
        Username: user.Username,
        RedirectUrl: "https://localhost:5001/Account/Login/Callback?returnUrl=" + returnUrl
      )
    );

    var trackResponse = await _authsignal.Track(trackRequest);

    if (!trackResponse.IsEnrolled || trackResponse.State == UserActionState.CHALLENGE_REQUIRED)
    {
      return Redirect(trackResponse.Url);
    }
  }
}
- First, we validate the user's credentials using IdentityServer's built-in user service
- If valid, we retrieve the user object to get their unique identifier
- We create an Authsignal
TrackRequestwith three important parameters:UserId: The unique identifier for this user in your systemAction: A string identifier for this authentication action (you can create different actions for different security operations)Attributes: Additional context, including where to redirect after MFA completion
- We call Authsignal's
Trackmethod, which evaluates the user's MFA status - Based on the response, we either:
- Redirect to Authsignal's MFA challenge if the user needs to enroll or complete verification
- Continue with the normal authentication flow if MFA passes silently (e.g., if using device fingerprinting and the risk is low)
For convenience, we are prompting users to enroll for MFA on login if they're not yet enrolled. You can move this enrollment step elsewhere in your user journey too.
The RedirectUrl we pass to the track request will be a callback endpoint that we need to add to IdentityServer to validate the result of the MFA challenge.
Validating the MFA Challenge
When the user completes the MFA challenge, they'll be redirected back to your callback endpoint. This is where you verify the result of the challenge and complete the authentication process.
Implementing the Callback Handler
The callback endpoint needs to:
- Validate the token from Authsignal
- Check if the challenge was successful
- Complete the authentication if verification passed
- Redirect to the original destination
Here's how we implement this in our callback handler:
// /src/IdentityServer/Pages/Account/Login/Callback.cshtml.cs

public async Task<IActionResult> OnGet(string returnUrl, string token)
{
  var validateChallengeRequest = new ValidateChallengeRequest(Token: token);
  var validateChallengeResponse = await _authsignal.ValidateChallenge(validateChallengeRequest);
  var userId = validateChallengeResponse.UserId;
  var user = _users.FindBySubjectId(userId);

  if (validateChallengeResponse.State != UserActionState.CHALLENGE_SUCCEEDED)
  {
    // MFA challenge failed - send them back to login
    return Redirect("https://localhost:5001/Account/Login?ReturnUrl=" + returnUrl);
  }

  // Success! Proceed with authentication and issue session cookie
  // [authentication code here]
}
Let's break down this code:
- We receive the
tokenparameter from the redirect URL - this contains the verification result - We pass this token to Authsignal's
ValidateChallengemethod to verify its authenticity - From the response, we extract the user ID to find the corresponding user in our system
- We check if the challenge state is
CHALLENGE_SUCCEEDED:- If not, we redirect back to the login page - this means the user failed verification
- If successful, we proceed with normal authentication (issuing cookies, etc.)
This callback handler is the critical final piece that completes the MFA flow. After successful verification, you would complete the standard Duende IdentityServer authentication process by issuing the appropriate cookies and redirecting to the requested resource.
Using Email-Based MFA
If you're using email and password as your primary authentication and want to use an email-based Authsignal method (OTP or magic link) as the secondary MFA step, you can avoid asking for the email twice by passing it with your track request:
var trackRequest = new TrackRequest(
    UserId: user.SubjectId,
    Action: "identity-server-login",
    Attributes: new TrackAttributes(
        Email: user.Email,
        RedirectUrl: "https://localhost:5001/Account/Login/Callback?returnUrl=" + returnUrl
    )
);
You might also want to disable "Self-service management" for email authenticators in the Authsignal Portal to prevent users from changing their email in the MFA UI.
Wrapping Up
That's it for adding MFA to your Duende IdentityServer! You've now got a more secure login flow that requires users to prove their identity with a second factor.
You can find the complete code example referenced in this guide on GitHub.
In the next part of this series, we'll show you how to add passkey support to give your users an even smoother and more secure login experience. Stay tuned!
.svg)